Why Yield Monitor Data Is Worth the Setup Effort
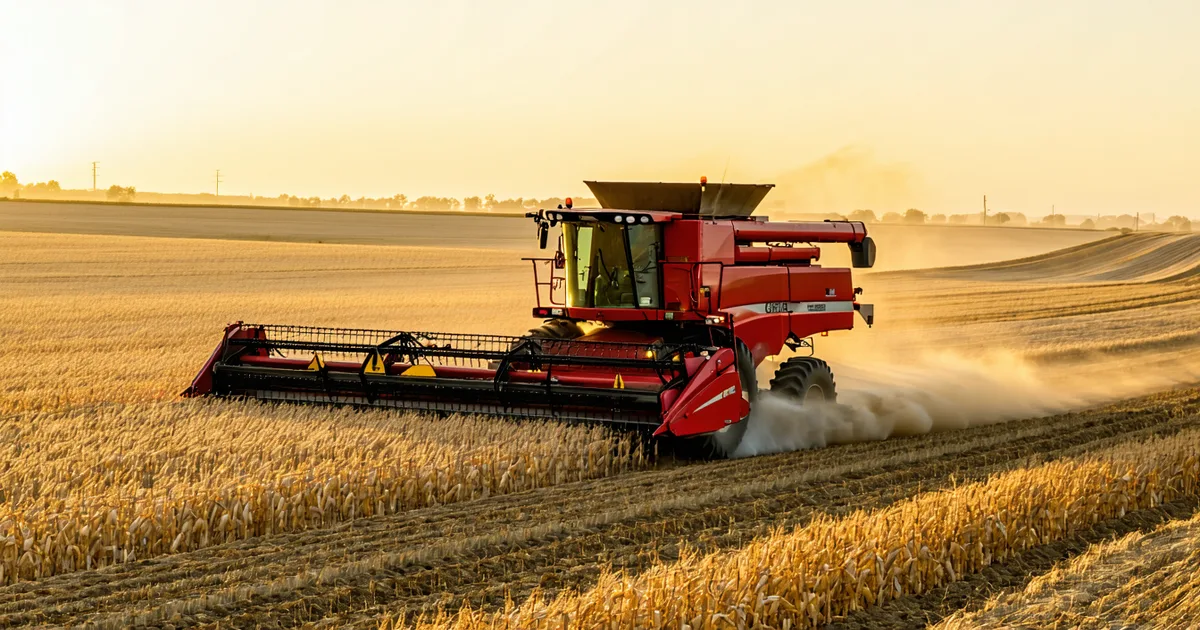
Yield monitors generate spatial yield data in real time as the combine harvests. When properly calibrated, a yield monitor file contains GPS-tagged yield readings at roughly 1–3 second intervals across the entire field, creating a point cloud that can be interpolated into a yield map showing within-field variability at 5–10 meter resolution. That's not just a map for looking at — it's a multi-year calibration record that tells a crop growth model exactly where each field has historically performed, providing a ground-truth anchor that satellite imagery alone cannot supply.
Satellite indices tell you how healthy the canopy looks. Yield monitor data tells you what actually went into the grain cart. The combination of both — a calibrated model that uses historical yield monitor data to refine its field-specific expectations, updated each season with new satellite observations — is substantially more accurate than either data source alone. In fields where we have 2 or more seasons of yield monitor calibration, our mid-season forecast accuracy improves by roughly 8–12% compared to fields entering their first season without historical yield data. That's a real improvement in decision-useful signal.
This guide covers what you need to know to get your existing yield monitor data into the system, including common export gotchas and calibration quality checks before you load it.
Step 1: Export Your Yield Data
The export process depends on which platform you're using to store and manage your combine data. Here's what works for the three most common systems.
John Deere Operations Center
Log into ops.deere.com and navigate to your organization. Under "Field Analyzer" or "Reports," select the fields and season you want to export. Choose the yield data layer. Deere's export format is typically a shapefile (.shp) bundle — you'll get a .zip with the .shp, .dbf, .prj, and .shx components. Some Deere accounts also offer GeoJSON export through the API if your integrator has it enabled. The .dbf file contains the attribute table with yield values (in bu/ac or metric equivalent), GPS coordinates, harvest timestamp, and moisture percentage at time of harvest.
Important note on Deere exports: the yield values in the raw export are not moisture-adjusted unless you specifically select "Dry yield" in the export settings. Most agronomic analysis uses dry weight basis (adjusted to 15.5% for corn, 13% for soybeans). If you export wet yield and load it without adjustment, the model will receive inflated yield numbers for fields harvested at high moisture. Check the column header — if it says "Yld_Vol_Dr" or "dry_yield" you're getting the adjusted value; if it says "Yld_Vol_Ms" or "wet_yield," adjust before loading.
Climate FieldView
FieldView exports through its mobile app or desktop interface at climate.com. Navigate to the field, select the harvest season, and choose "Export Field Data." FieldView exports as a CSV or shapefile depending on the export type selected. The CSV export is often easier to work with for initial review — you can open it in a spreadsheet and verify that the yield values look correct before loading into any platform. FieldView's yield export typically includes dry yield, field name, harvest date, and equipment ID.
One common FieldView issue: if you farm fields under multiple business entities or "farms" in the FieldView organization structure, each entity's fields appear in separate export contexts. Check that you've exported all entities, not just the default one. Growers who took over additional acres mid-season and added them to a secondary FieldView account sometimes find their full field set isn't in a single export.
Raw Yield Monitor Files (ISOBUS / AgLeader / Raven)
If you're running an older Ag Leader yield monitor, a Raven display, or any system that writes native ISOBUS format, your raw data will be either a proprietary binary file (readable only with the manufacturer's desktop software) or a CSV export from that software. Ag Leader SMS and Raven's AgFiniti software both export CSV with similar structures: timestamp, GPS lat/lon, width, speed, grain flow, moisture, and calculated instantaneous yield.
For raw CSV uploads, the minimum required fields are: latitude, longitude, field identifier, crop type, harvest date, and yield value with moisture specification. If your export includes equipment speed, that's useful for identifying yield monitor calibration drift — yield monitors that were running at speeds above calibration range often show systematically high yield readings in those rows.
Step 2: Calibration Quality Check Before Loading
Loading poorly calibrated yield monitor data makes the model less accurate, not more. A yield monitor that was running with a calibration error of 8% over the season will systematically over- or understate yield for every pass in that field, giving the calibration model a biased historical record to work from. Before loading any yield data, run through the following checks.
Compare field-average yield to invoice weight. For grain fields with documented scale tickets, compare the total production on the tickets to the total production calculated from the yield monitor file. If the yield monitor total is more than 5% different from the scale total, the monitor was running with calibration drift during harvest. A monitor that reads 4% high throughout the season will give a field-average yield that's inflated by roughly 8 bu/ac on a 200 bu/ac field — meaningful calibration error.
Check for edge-effect outliers. Yield monitor readings at field edges, where the combine is partially outside the field, are typically unreliable — the header overlap with non-crop area dilutes the grain flow sensor reading. Most yield monitor systems have an auto-exclude filter for low-speed passes (headland turns), but some older systems don't. Look at the spatial distribution of your yield point cloud: any cluster of anomalously high or low readings at field corners or edges should be removed before the file is loaded.
Verify moisture specification. If your export doesn't clearly indicate whether yield values are dry or wet basis, calculate what the adjustment would be. Corn harvested at 20% moisture has a wet-to-dry conversion factor of (100 − 20) / (100 − 15.5) = 0.947. If your field-average "yield" from the export is 208 bu/ac but you know your elevator tickets showed 197 bu/ac delivered, the 11 bu/ac gap is consistent with wet yield at ~20% moisture being reported without adjustment.
Step 3: Loading Into the Platform
Upload is available under the "Field History" section for each field. Supported formats are shapefile (zipped), GeoJSON, and flat CSV with required columns. For CSV uploads, the column mapper tool allows you to specify which column maps to which required field — if your export uses "Yield_Dry" instead of "yield_buac," the mapper handles that without requiring you to rename columns.
Once uploaded, the system generates a yield map preview. Review the spatial distribution: a healthy yield map shows gradual transitions across the field, with coherent zones corresponding to soil type boundaries or topographic drainage patterns. A yield map that shows random high-low alternation at the row scale typically indicates a calibration issue — the yield monitor was not averaging over a long enough integration window, creating sensor noise in the data rather than real yield variation. That kind of data is less useful for calibration and will be used with reduced weighting in the model.
Fields with 3 or more uploaded season histories — even from different crops in rotation — generate the most useful calibration layers. A field's relative productivity pattern (which zones are consistently high, which are consistently low) is often stable across years and crops. A zone that's consistently low-yielding in corn due to compaction or drainage will often show below-average soybean yields in the same location, and sometimes below-average wheat yields if that field is in a wheat rotation. The multi-season history allows the model to build a stable site index for each zone rather than recalibrating from scratch each season.
What to Do If You Don't Have Yield Monitor Data
Not every farm operation has a yield monitor, and not every monitor that exists produces calibration-quality data. If your yield monitor was run without calibration for multiple seasons, loading that data may introduce more error than it removes. In that case, it's better to start with APH records and let the satellite-based model build its calibration from the current season forward.
FSA farm records with annual yield certifications, crop insurance APH records with multi-year yield history, or grain elevator delivery records with field-level allocations are all usable as calibration inputs, though they're less spatially precise than yield monitor data — they provide a field-average yield history rather than a within-field spatial pattern. We accept these as "coarse calibration" inputs: they anchor the model's expectation for the field's overall performance level, even without the sub-field spatial information that yield monitor data provides.
If you're starting fresh — no yield monitor history and no APH records — the model will run from satellite imagery alone for the first season. First-season accuracy is still useful, but it improves substantially once a season of observed yield data is available to compare against. Loading your first harvest's yield monitor data after the season — even if you didn't use the platform during that season — calibrates the model forward for the next season. That retroactive calibration step is worth the 20-minute data preparation time.